Step 1: Install a model
- axutil.exe delete /model:YOUR_EXITING_MODEL_ID /config:”YOUR_AOS”
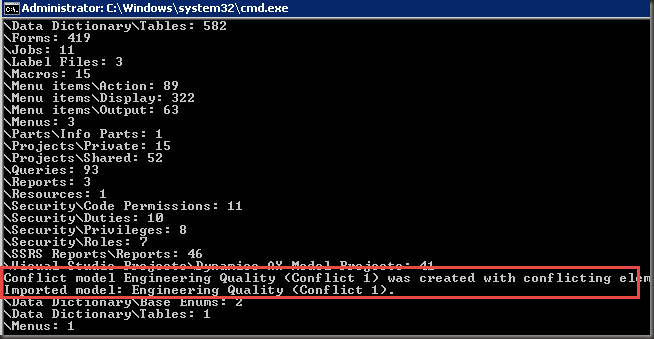
- axutil.exe import /config:”YOUR_AOS” /file:”C:\YOUR_PATH\YOUR_MODEL_FILE.axmodel” /conflict:push /verbose
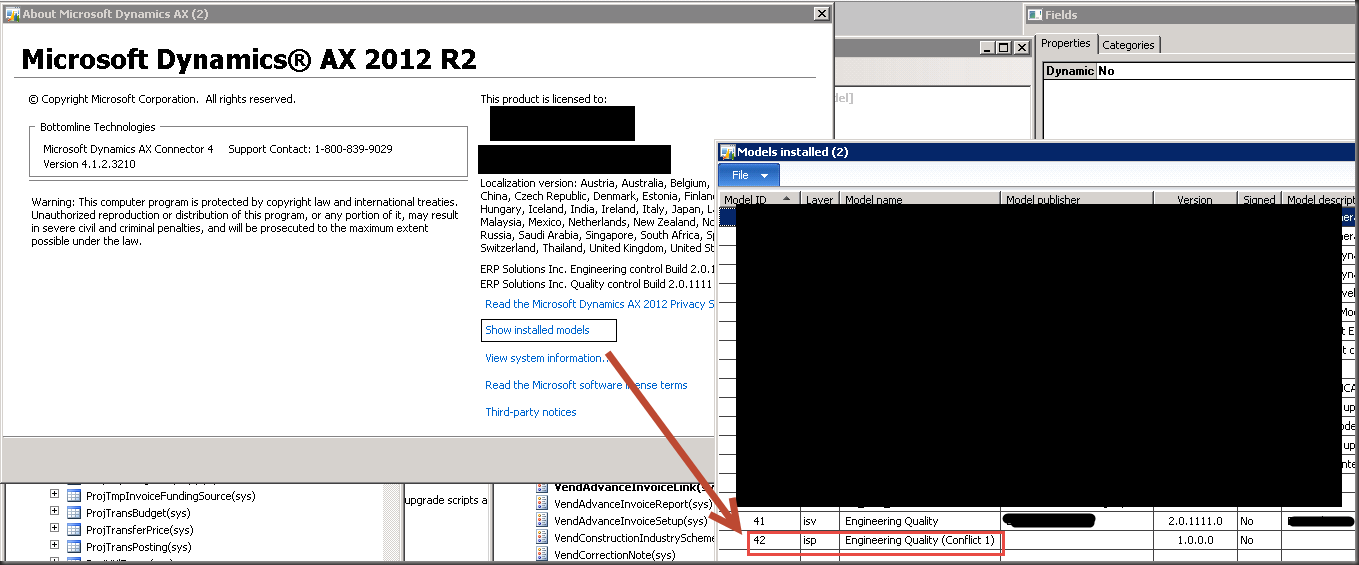
Step 2: Find Conflict model
The process will create a conflict model if found 
Step 3: Create a project from a conflict model
- Open the Development Workspace.
- Choose Tools > Model management > Create project from model.
- Select the model that will be used as the source of the project content.
- Supply the name of the new project to be created.
- Click OK. The project will be created that has the elements from the model.
A project will provide project name will be created in private project
Step 4: Resolve conflicts
Go to your project and start selecting a resource that has conflict.
Compare to see the differences between the resource in the patch layer and the resource in the main layer.
There are many ways to resolve the conflict, depending on the resource type and the actual conflict. Some of the ways to resolve the conflict include the following:
- Use the information and the available actions from the Comparison window to merge changes from the conflict model into an existing layer.
- Make a change in the resource in an existing model in the current layer. For example, if two different models in the layer have modified the same resource, you could consider creating a new “shared” model in the layer that contains a single version of the resource that can be used by both of the other models.
- Switch to the patch layer and modify the resource there. In some cases, this is the easiest way to resolve the conflict.
Repeat this process until there isn’t any object to resolve.

Curious to why you delete the model in the first step. This would regenerate IDs potentially causing loss of data when running the database synchronization.